One of our favorite things is to give everything in our home a nice, deep clean. However, there are a few tasks that only look easy. Removing a stink stopper is one of them.
While it may seem like removing this small device is easy, the truth is that it’s harder than it seems. That’s why we’re sharing our step by step instructions for how to remove a sink stopper.
The Types of Sink Stoppers
Some sink stoppers can be easily removed, and we are grateful for those. However, the majority of San Diego homeowners do not have the option of simply pulling out their stopper and cleaning the drain. There are three common stoppers found in bathrooms. They are:
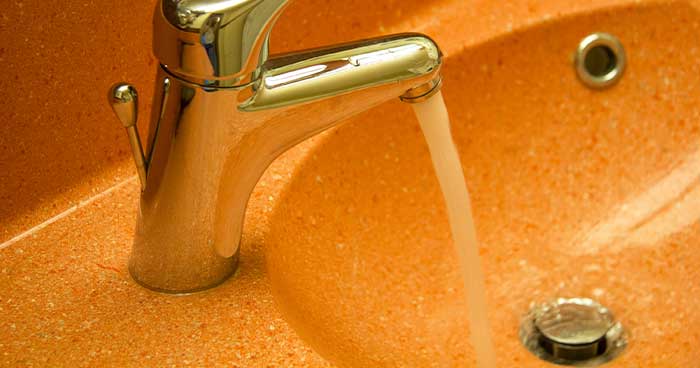
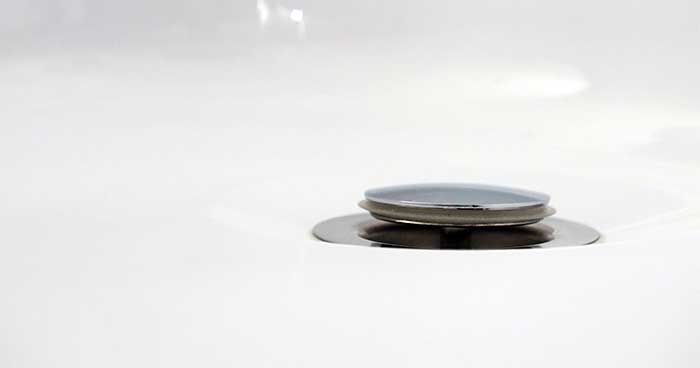
- Pop-Up – Pop-up stoppers are the standard stopper and the type we’re discussing in this article. They have a lift handle that moves up and down. When pulled down, they seal the sink, so nothing gets down the drain. When pushed up, the sink is open.

- Lift-And-Turn – These types of stoppers are found mostly in the kitchen but can also be used in the bathroom. They’re identified by a knob that sits in the middle of the stopper itself. Simply twist the knob to pull the stopper in and out of the sink.
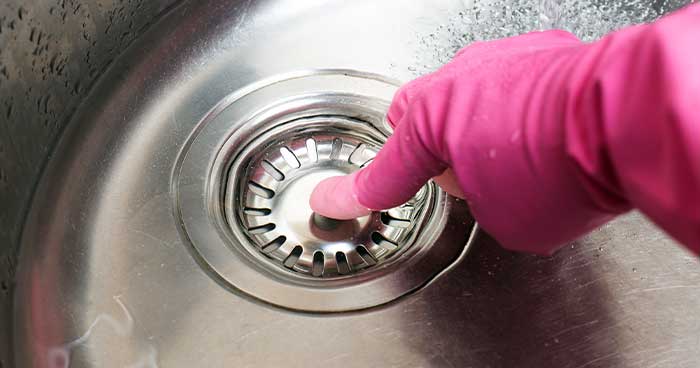
- Push-And-Pull – Push-and-pull stoppers look almost identical to pop-up stoppers. The difference is in how they work. These stoppers just need to be pushed down, pulled up, and then pulled out of the drain.
How to Remove a Sink Stopper – Step by Step
Lift-and-turn and push-and-pull stoppers are incredibly easy to work. Just pull them out of the drain. It’s the pop-up stoppers you need to work a little harder for. Here are our step by step instructions to remove a pop-up sink stopper.
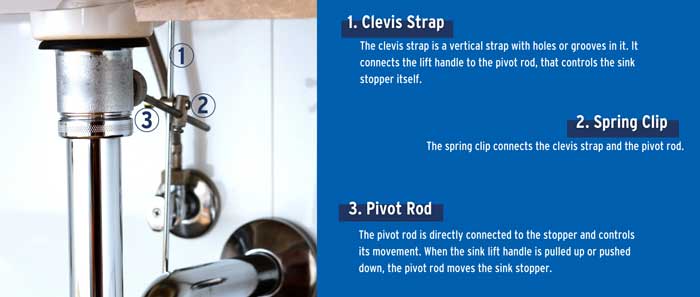
1. Locate the Clevis Strap and Pivot Rod.
- The first thing you should do is empty everything out from under the sink. Then go in there with a flashlight if you can’t see anything. Locate the clevis strip, spring clip, and pivot rod. These are the main components that enable your pop-up sink stopper. The clevis strap connects to the lift handle, the pivot rod connects to the stink stopper itself, and the spring clip holds it all together.
2. Remove the Spring Clip and Pivot Rod
-
- Now that you know what these parts are and where they are, it’s time to get to work. Remove the spring clip and set it aside in a safe place. You want to remember where it is. You don’t have to remove the clevis strip, just leave it alone after removing the spring clip. Also, don’t forget to place a bucket under your pipe, some loose water could go flying and you want to catch it before it makes a mess.The next thing you’ll be removing is the pivot rod. Most pivot rods have a nut at the end that keeps it in place. Most of the time you can remove everything by hand, but if the nut is in there tightly, you’ll need to bust out the pliers.
3. Remove the Sink Stopper!
-
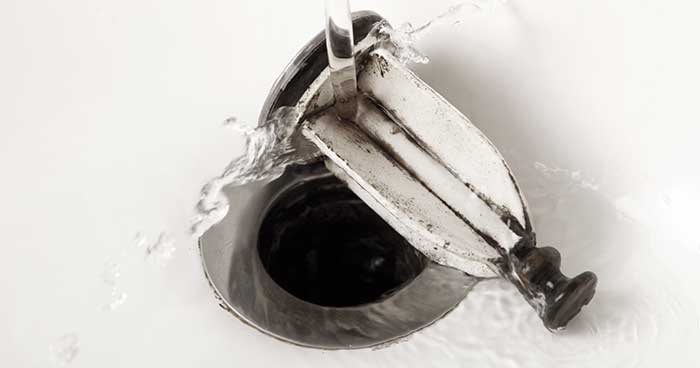
- Now that everything is removed and put in a safe place, you can finally lift out the sink stopper.Oftentimes, the sink stopper will be coated with buildup from the drain. Be sure to clean the sink stopper and the drain.
The Best Way to Clean a Sink Stopper
Is there anything white vinegar can’t do? Nearly everyone at ASI has a bottle of white vinegar and uses it as part of their cleaning routine.
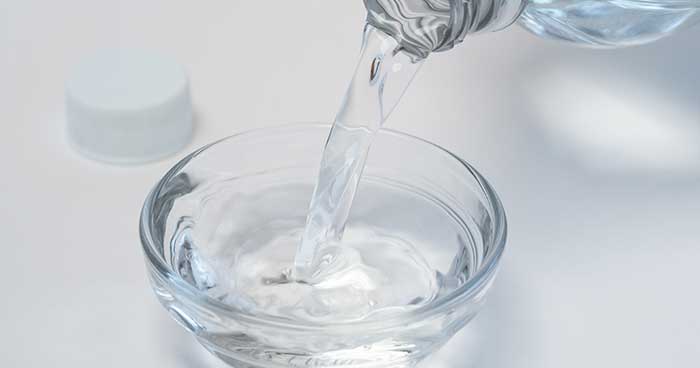
For your sink stopper, simply fill a bowl with about a cup of white vinegar. Clean any visible debris off the stopper with a washcloth, then immerse the stopper in the vinegar.
Let the stopper sit for 15-20 minutes. After that time, give the stopper a wipe down with a washcloth or old toothbrush.
Sit back, admire your clean stopper, and then get ready to put everything back together.
How to Put it all Back Together
Remember how we told you to put the pivot rod and spring clip in a safe place? Good! Go find those things and start getting everything back together.
First, insert the pivot rod and make sure it’s aligned with the sink stopper. Move the pivot rod up and down to see if the stopper moves with it.
Once that’s all set up, connect the pivot rod to the clevis strap. Use the spring clip to keep it all in place.
Don’t forget to test everything by moving the lift handle up and down and running some water to make sure nothing leaks.
Tips for Clearing a Drain
One of the biggest reasons San Diego homeowners want to remove their stink stopper is so that they can clean their drain. We can’t condone the use of chemical drain cleaners. They can corrode your pipes and even leave foul smelling chemicals in the atmosphere.
Instead, we prefer using items in the pantry. Below are our two favorite ways to naturally clean the drain.
- Baking Soda and Vinegar – This is an easy method to remove small buildups from your bathroom sink. Start by mixing 1/3 cup of baking soda and 1/3 cup of vinegar. When the two mix they will start to immediately fizz. Pour this concoction down the drain. Give it 1 hour to do its work, then flush with boiling water.
- Baking Soda and Salt – Baking soda and salt are powerful on their own, but when you mix them together magic happens. Mix ½ cup of baking soda and ½ cup of salt, then pour it down the drain. Give the mixture 15 minutes to marinate and then flush it down with boiling water.
Do you still need extra help clearing the drain? Don’t hesitate to reach out to ASI, the White Glove Guys. Call the number at the top of the screen or click here to request an appointment online.

