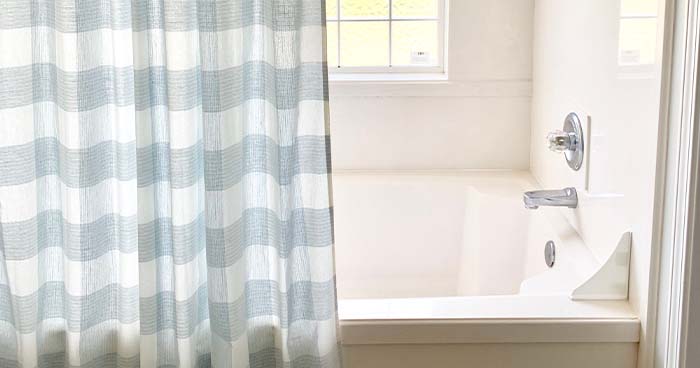
Homeownership comes with responsibilities. Over time, many parts of your home will need repairs, especially the bathroom. Even the cleanest shower needs an occasional refresh.
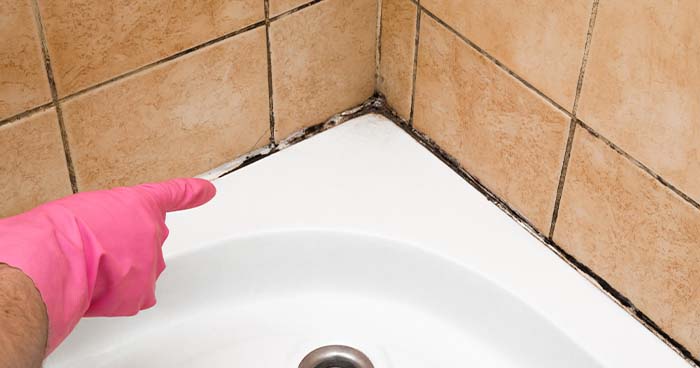
The buildup of gunk of mold under the caulk sealant can take away from the true luxury of your bathroom. The good news is all of this “ick” can easily be removed and replaced with new caulking.
Like many bathroom repairs, caulking your shower is a fairly simple do-it-yourself process that can be done in just one afternoon. Here is our favorite way to caulk a shower.
Tools You’ll Need
Before you begin the caulking process, you will need some tools and materials to do the job properly. For this project you will need:
- Silicone/latex bathroom caulk
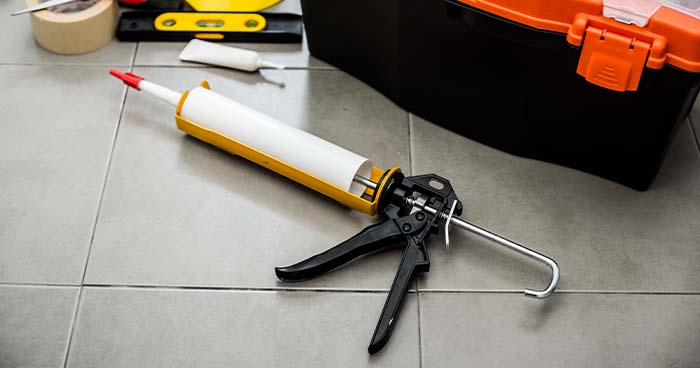
- Caulking gun
- Utility knife
- Painter’s tape
- Mold cleaner and cleaning supplies
Step 1: Choose the Correct Caulk
When choosing the caulk for your shower, you’re faced with a hard decision. Silicone or latex? Silicone provides a better seal, but latex is easier to work with.
Fortunately for you, there is a caulk that combines the two. However, if you can only find caulk with either silicone or latex, that also works just fine.
Step 2: Remove Old Caulk
Next, you’ll need to remove the old caulk. Use a utility knife to cut through the current caulk resting along the walls of the shower.
Step 3: Clean All the Mold
Before you can even think of adding new caulk, you need to clean everything. No matter how many times you clean a shower, there is still the potential for mold growth.
Step 4: Apply Painter’s Tape
Prior to applying the new caulk, apply painter’s tape to the area to ensure accuracy. Painter’s tape is important to mask the gaps and an outline of where you will apply the caulk. It’s also easy to remove once you are finished. Start by finding the largest gap between your wall and the shower, then apply tape.

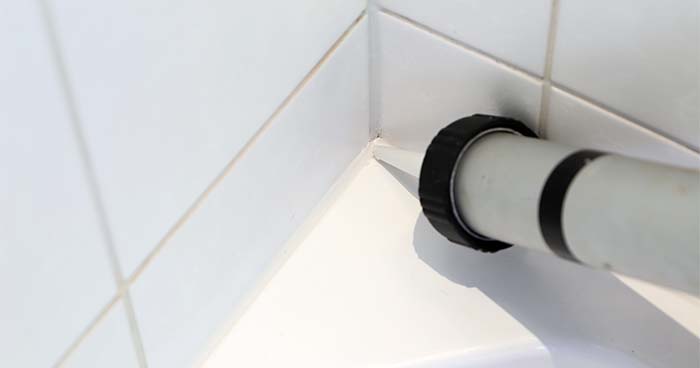
Step 5: Start Caulking
Now that you’ve completed all the prep work, the actual process of caulking is simple. To apply, hold the caulking gun at a 90-degree angle to the gap.
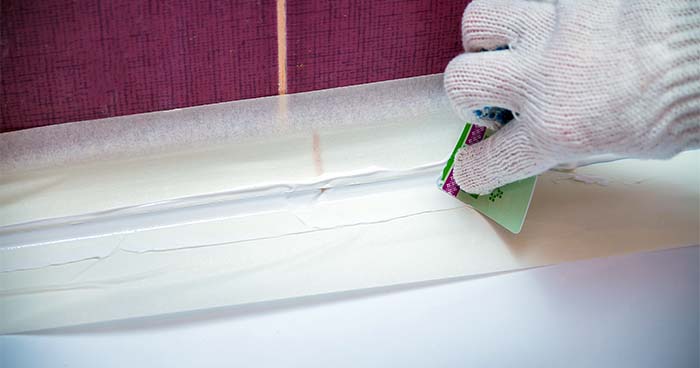
Step 6: Smooth the Caulk
Finally, wipe along the caulk lines with a damp cloth to smooth everything over. Remove the painter’s tape starting at the corners — while the caulk is still wet — to reveal a straight line of fresh caulk.
It is important to allow the shower sit for at least 24 hours so it can dry and set properly.
The Big Reveal
After a full 24 hours of letting the caulk dry, lightly touch the area to ensure it’s dry. If it’s sticky to the touch, allow extra drying time.
Water can ruin caulking that hasn’t properly set, so make sure it’s fully dried before you use the shower. Bathroom repairs like this will again reveal a beautiful, good-as-new shower or bath ready for use.
Since 1952, the ASI team has been providing the San Diego area with their Certified White Glove home repair services. Click here to schedule an appointment with our plumbing department.
Need Professional HVAC or Plumbing Help?
Our expert technicians are ready to assist you with any heating, cooling, or plumbing needs.
